Building a WordPress website from scratch is a straightforward process that doesn’t require coding skills. By following a few key steps, you can have a professional, functional website up and running quickly. This guide walks you through the entire process, from getting a domain name to launching your site.
Phase 1: The Foundations (Domain and Hosting)
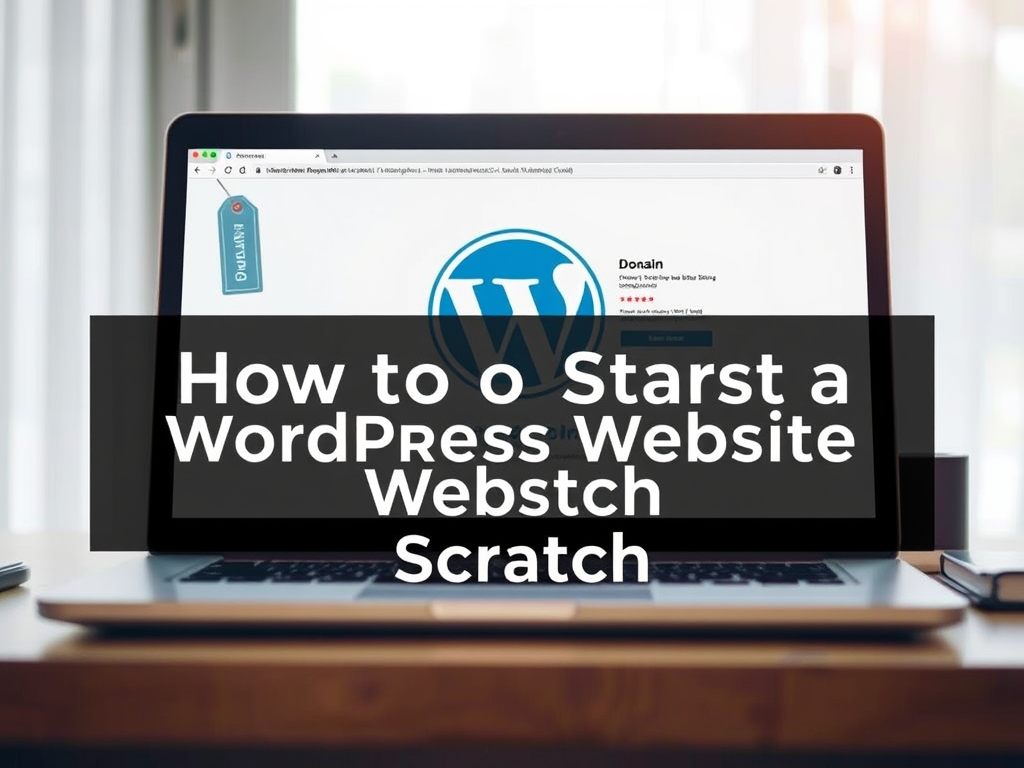
Before you can build your house, you need the land and the address. The same applies to a website: you need a domain name (your website’s address, e.g., yoursite.com) and web hosting (the server space where your website files are stored).
Step 1: Choose and Purchase a Domain Name
Your domain name is your online identity, so choose something memorable, brandable, and easy to spell.
- Tips for choosing a domain name:
- Keep it short and clear.
- Use keywords related to your business or niche.
- Aim for a
.comextension for credibility. - Avoid numbers or hyphens if possible.
- Where to buy it: You can buy a domain name from registrars like Namecheap or GoDaddy. Some hosting providers also offer a free domain name for the first year if you purchase a hosting plan.
Step 2: Select a Web Hosting Provider
The right host ensures your site is fast, secure, and always accessible.
- Key factors to consider:
- Reliability & Uptime: Look for hosts that guarantee high uptime (e.g., 99.9%).
- WordPress Optimization: Many providers offer specialized WordPress hosting with one-click installation and optimized performance.
- Customer Support: Ensure they offer 24/7 support in case you run into issues.
- Price: Balance cost with features. Introductory prices are often low, but check renewal rates.
- Popular providers: Bluehost, Hostinger, SiteGround, and HostGator are all reliable options.
Phase 2: Setting Up WordPress
Once you have your domain and hosting, it’s time to install the WordPress software itself.
Step 3: Install WordPress
Most modern hosting providers make this incredibly easy with a “one-click” installation process, which automatically sets everything up for you.
- Log in to your hosting account’s control panel (often called cPanel or a custom dashboard).
- Locate the WordPress installer tool (often named “WordPress Installer,” “Softaculous,” or something similar).
- Follow the prompts: Select your domain name, enter a site title, and create your admin username, password, and email address.
- Click “Install”: The system will install WordPress for you in minutes.
After installation, you can log in to your WordPress dashboard (the backend of your site) by navigating to yourdomain.com/wp-admin in your browser.
Step 4: Configure Essential Settings
Before diving into design, tweak some basic settings to ensure a smooth experience later.
- General Settings: In your dashboard, go to Settings > General to confirm your site title, tagline, and time zone.
- Permalinks: This is crucial for SEO-friendly and readable URLs. Go to Settings > Permalinks and select the “Post name” option. Click “Save Changes.”
- Reading Settings (Optional): By default, WordPress displays your latest blog posts on the homepage. To use a static homepage, go to Settings > Reading, select “A static page,” and choose the page you want to set as your home page (you will create this page in the next phase).
Phase 3: Design and Content
Now for the fun part: making your website look great and adding content.
Step 5: Choose and Install a Theme
A theme controls the overall design and layout of your website.
- In your dashboard, go to Appearance > Themes.
- Click “Add New”.
- You can browse thousands of free themes from the official WordPress directory or upload a premium theme (e.g., Divi, Astra, or OceanWP) if you’ve purchased one.
- Hover over a theme you like and click “Install”, then “Activate”.
Step 6: Install Essential Plugins
Plugins are like apps for your website; they add extra functionality without coding.
- Go to Plugins > Add New in your dashboard.
- Search for essential plugins and click “Install Now”, then “Activate”.
- Must-have plugins:
- SEO: Yoast SEO or All in One SEO (AIOSEO) to optimize for search engines.
- Security: Solid Security or Jetpack Security for protection against threats.
- Backups: UpdraftPlus or Duplicator for regular site backups.
- Contact Forms: WPForms to easily create a contact page.
Step 7: Add Essential Pages and Navigation Menu
Every site needs core pages to inform visitors and help them navigate.
- Create Pages: Go to Pages > Add New to create pages like:
- Home
- About Us
- Contact (include your WPForms form here)
- Privacy Policy and Terms & Conditions (these are legally required)
- Create a Menu: Go to Appearance > Menus to create a primary navigation menu. Add your essential pages to the menu and set its display location (usually the “Primary” or “Header” menu).
Phase 4: Launch and Beyond
You’re almost ready to share your site with the world.
Step 8: Final Checks and Launch
- Review everything: Read through all your content for typos, check all links and forms, and test your site on both desktop and mobile devices.
- Enable search engine visibility: If you previously discouraged search engines while building (a common practice), go to Settings > Reading and uncheck the box that says “Discourage search engines from indexing this site.”
- Click “Launch” (if your host provides a coming soon page feature) or simply ensure your site is public in the settings.
Step 9: Monitor and Maintain Your Website
Launching is just the beginning. Regular maintenance is key to long-term success.
- Keep everything updated: Regularly update your WordPress core software, themes, and plugins to maintain security and functionality.
- Monitor performance: Use tools like Google PageSpeed Insights to check site speed.
- Track traffic: Integrate Google Analytics using a plugin like MonsterInsights to see who is visiting your site.
Frequently Asked Questions (FAQ)
1. How much does it cost to start a WordPress site?
The cost varies, but basic startup costs for a self-hosted WordPress.org site can range from $50 to $300 per year, covering hosting and a domain name. Premium themes or plugins may add to the expense.
2. Do I need coding skills to build a WordPress website?
No, you do not need coding skills. WordPress is designed for beginners, featuring a user-friendly block editor (Gutenberg) and drag-and-drop page builder plugins (like Elementor or Divi) that allow extensive customization without writing a single line of code.
3. What is the difference between WordPress.com and WordPress.org?
WordPress.org (self-hosted) is a free, open-source software that gives you full control, ownership, and flexibility, but requires you to purchase hosting and a domain. WordPress.com is a hosted platform that is easier for beginners but has limitations on customization and monetization unless you upgrade to a paid plan.
4. Can I change my theme later?
Yes, you can change your WordPress theme at any time without losing your content (posts and pages). However, switching themes can affect your site’s design and layout, so it’s best to perform final design changes on a staging site or during the initial setup phase.